 FREE STANDARD SHIPPING
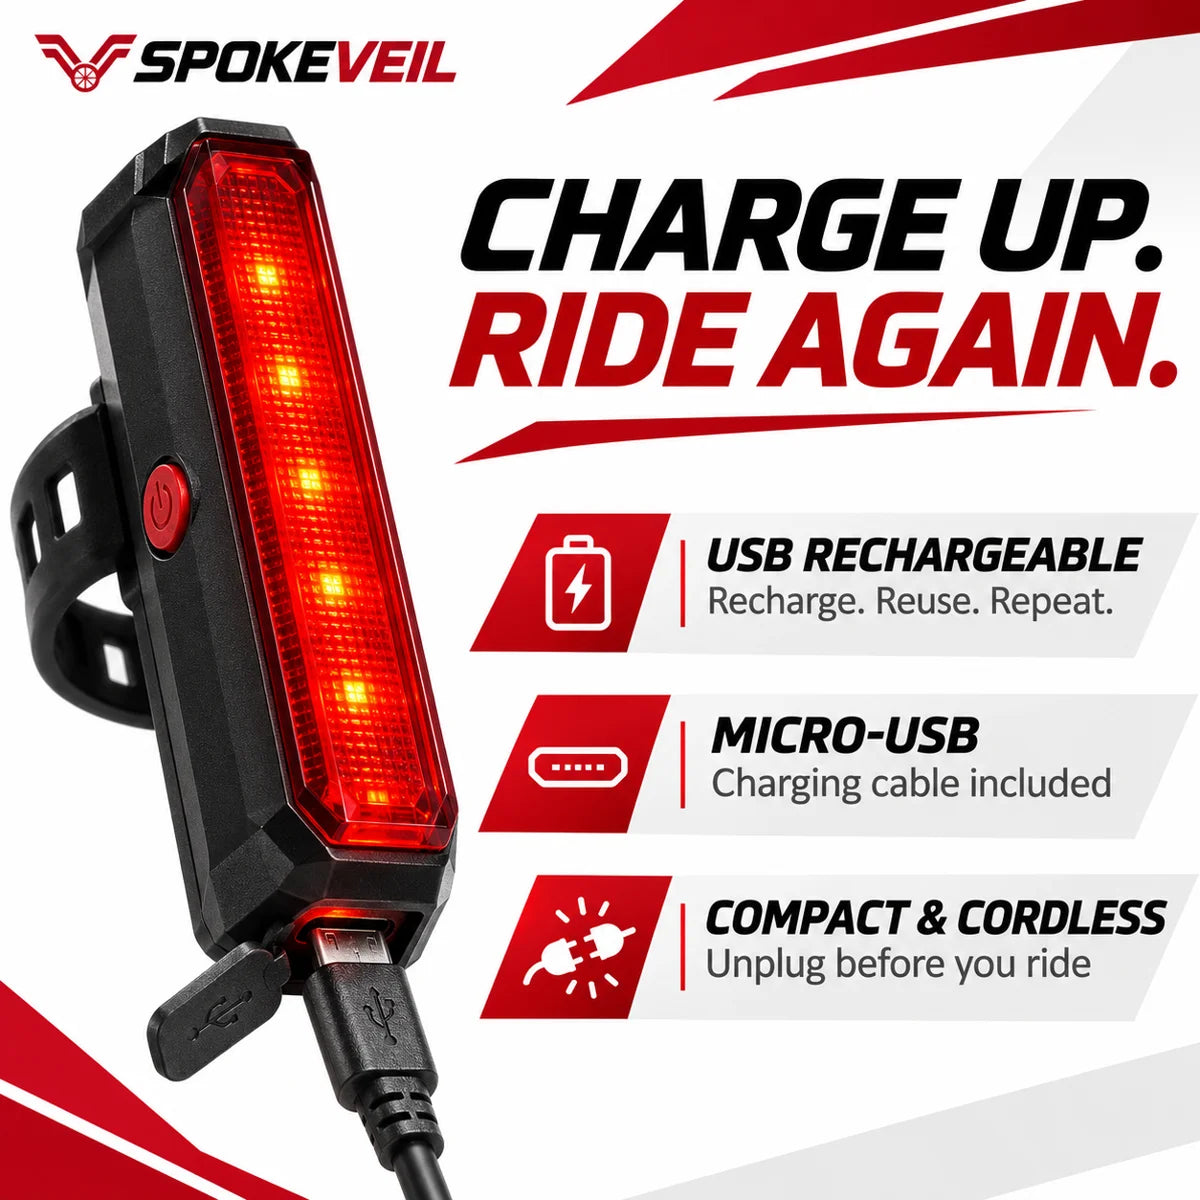
 USB RECHARGEABLE

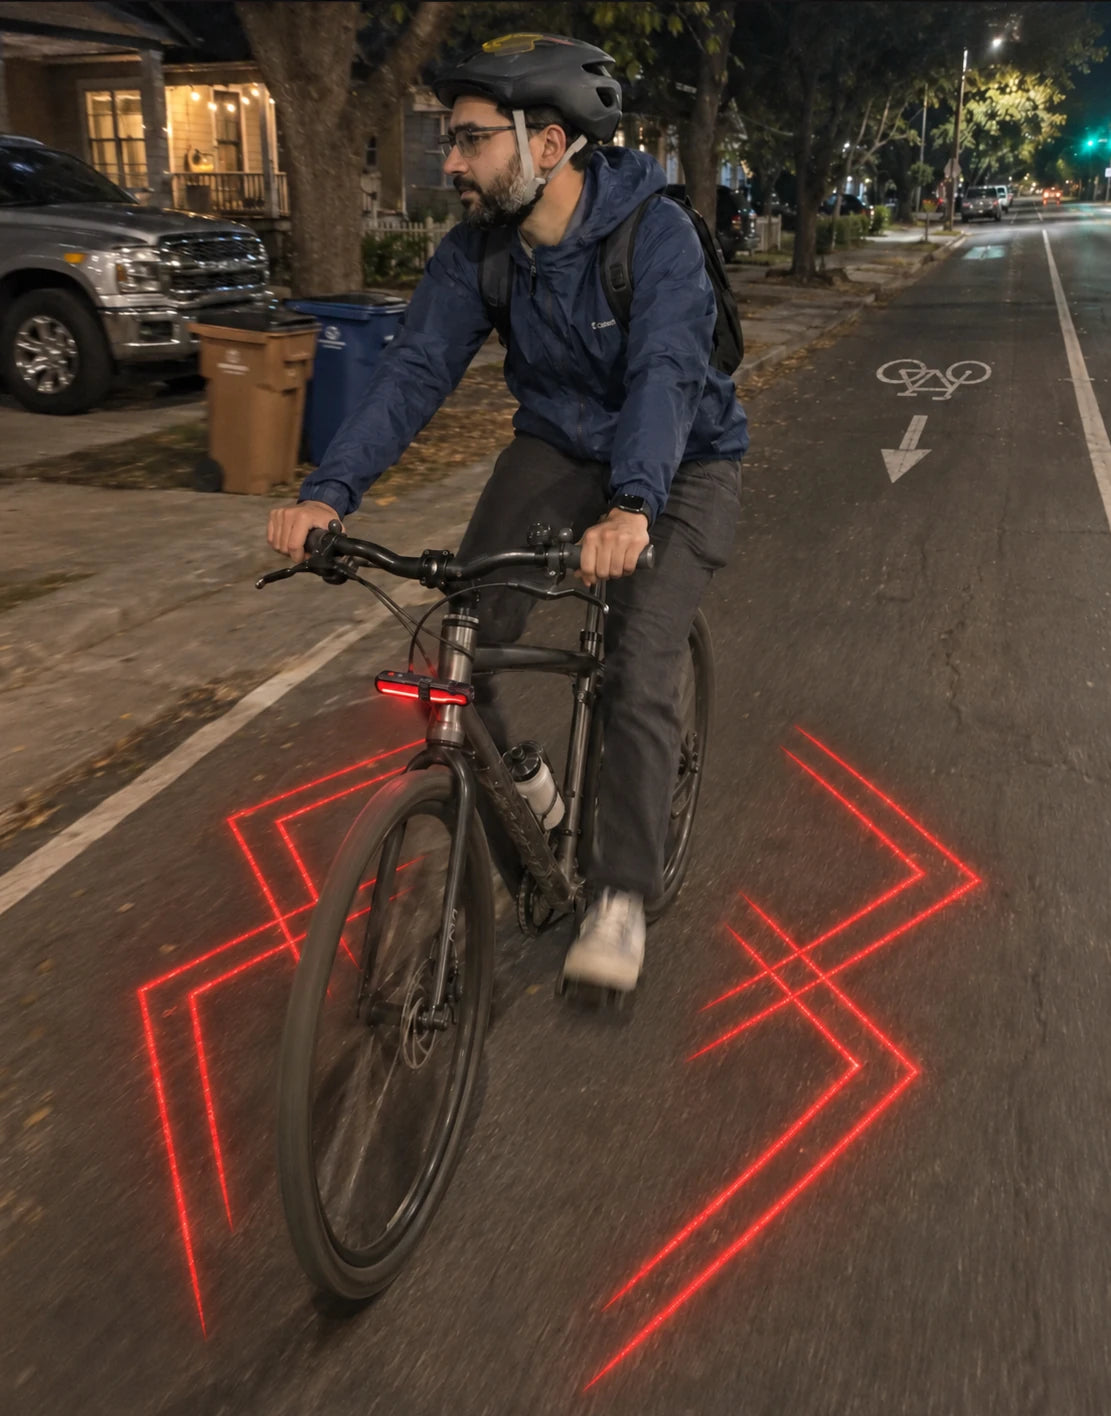
 Angular ground projection
 Bright red LED light
 Tool-free mounting
 Secure checkout powered by Shopify


★★★★★Avery Bennett
“I unpacked mine at the kitchen table while the tea went cold. Nice not having to hunt for the little bits.”



1 kit = 2 lights includedTwo positions. One complete setup.
Secure checkout powered by Shopify
Estimated delivery in 7–14 calendar days, including 2–3 business days of processing. Shipping policy
30-day support for faults & incorrect items · Read the returns policy
“I unpacked mine at the kitchen table while the tea went cold. Nice not having to hunt for the little bits.”

“The projection is subtle in daylight; I keep the kit fitted for when our Saturday ride runs late.”

“My partner always votes for the canal route. Once the sun dropped, I finally understood the red pattern.”
Each 2-light kit includes two projector lights, two adjustable mounting straps and two USB charging cables. The 4-light bundle doubles those contents. Bicycles and wall chargers are not included.
Free standard shipping to destinations available at checkout. Estimated delivery is 7–14 calendar days from ordering, including the usual 2–3 business days of processing. Tracking is sent after dispatch.
We do not offer voluntary returns for change of mind. Report faulty, damaged or incorrect items within 30 days for assessment and the appropriate repair, replacement or refund. Mandatory consumer rights are not limited. See our Returns & Refunds policy for details.
Two mounting positions create the wider setup shown in our night images. Angle the projectors toward the ground and check the fit before riding. These decorative projector lights do not replace a compliant headlight, rear light or reflectors.
CLIP IT. SWITCH ON. RIDE.
The adjustable strap fits many common round bicycle mounting points. Check that the strap can close firmly and that the light clears your wheels, brakes and cables.
No tools are required for the included strap mount. Clip the light into the mount, secure the strap and check that it cannot rotate into the wheel.
Charge it using the supplied USB-A to micro-USB cable. Runtime depends on operating mode and use. Recharge before heading out.
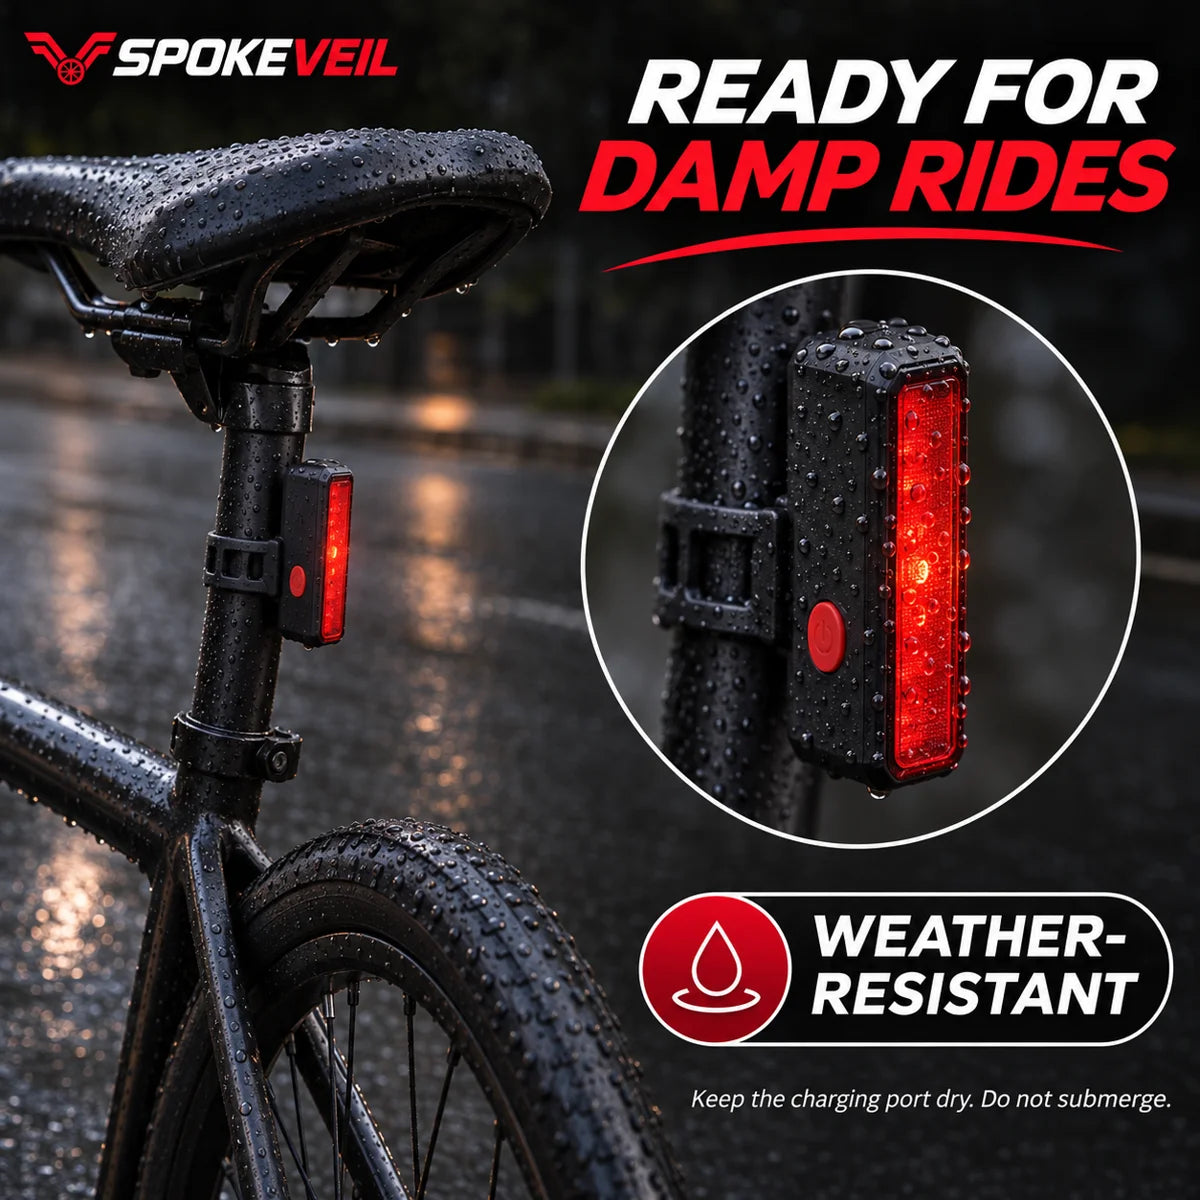
Keep the charging port dry and closed. Do not immerse the light. Avoid heavy rain and use a properly rated light for wet-weather riding.
After dark, on relatively flat ground with little surrounding light. Brightness, line shape and spread change with surface texture, mounting angle and ambient lighting.
Aim the projector only at the ground. Never point it toward eyes, people, vehicles or aircraft. Use it alongside the bicycle lighting required where you ride, and check local rules for projected lights.
The Night Ride Kit includes 2 lights for 1 bike. The Ride Together Bundle includes 4 lights for 2 bikes. Your bag shows the kit or bundle you selected. Two single kits are automatically grouped into the better-value bundle.
Contact our team with your question or order number. We will help with product setup, tracking or an eligible return.

For faults, arrival damage and incorrect items. No voluntary change-of-mind returns. Statutory rights apply.
YOUR EVERYDAY BIKE, REIMAGINED
Give your everyday bike a new look after dark. Two compact lights. A few quick steps. Then you’re off.
Recharge both lights with the included USB cables.
Secure the straps and clip each light into place.
Press the red button, aim down and check both sides.
THE RIDER’S PERSPECTIVE
42 reviews
From the first setup
to the last ride home.
Showing 9 of 42 reviews
I unpacked mine at the kitchen table while the tea went cold. Two lights, two straps, both cables—nice not having to hunt for the little bits.


I put off my evening ride all afternoon, then ended up taking the longer route. The red pattern looks lovely on the quieter streets near home.
My partner always votes for the canal route. Once the sun dropped, I finally understood the red pattern. We stopped twice just to look at it.


Had the straps on before my coffee was ready. I spent more time deciding where to put the lights than actually fitting them.

I tried it in the driveway in daylight first and barely noticed the projection. Went out after sunset and it made much more sense. Worth keeping that in mind.

My saddle bag gets in the way of everything. I moved the mount a little, checked both sides on the driveway, then headed out.


These come off the bike and go straight into the bowl by my keys. That is about as organized as my cycling gear gets.
I'm usually out before the coffee shops open. The projection is pretty subtle in daylight; I keep the kit fitted for when the ride runs late.


I like having both lights in one kit, with the cables and straps already there. Took a minute to adjust the angle, then I was ready to go.

I had a whole toolbox ready. Ended up just using the straps. My wife took this while I was still fussing with the angle.


We stop so often on our evening outings that I had plenty of time to fiddle with the angle. The pattern on the path is a fun little detail.

A small tilt made a noticeable difference on my driveway. I check that the straps are snug before each ride, same as the rest of my lights.

My sister and I ride after work when our schedules line up. The lines look much better as it gets dark. In daytime, they're easy to miss.


The projection is easiest to see on the darker part of the trail. Under the bright shop lights it is less obvious. Still happy with how the kit fits.

We always say we'll head straight home, then do another lap by the river. Both bikes had the lights on this time. Had to grab a photo.


I have a small shelf by the door for gloves and lights. These fit there nicely, so I am not searching through a drawer every time.

My bike's rear rack is usually buried under a bag. I tried the handlebar mount instead and checked the angle while stopped by the park.


We sat chatting longer than planned and rode home at dusk. My friend noticed the red pattern before I remembered I had switched it on.

I prefer bike accessories that do not need a whole afternoon. Charged the lights, fitted the straps and checked the angle outside. Nice and simple.

I used to leave bike stuff all over the apartment. Now both lights charge by the door, each on its own adapter. Less searching before a ride.


I am usually the person who loses the charging cable. Keeping these two in a little pouch with the lights has helped so far.

I got back from work and left my bag in the garage. Took the bike around the block again just to see the pattern after dark.


My bike is fairly plain and I like it that way. The lights are compact during the day, with a bit of extra personality once it gets dark.

Our group spends almost as long talking as riding. All three of us switched the lights on outside the bakery before we finally got moving.


I switch them on while the bike is still parked and check the ground before heading out. It has become part of my usual leaving-the-house routine.

My partner and I each took a pair. We adjusted them separately because our frames are different, then went for a short ride around the block.

Most of my riding happens after work, through town first and then out to quieter roads. I like that the little light doesn't take over the bike.


My first position was too close to another accessory. Moving the strap gave it a better spot. Easy enough once I stopped trying to squeeze everything together.

I stop by the gate, press the red button and give the strap a tug. The midday glow is faint here; dusk is definitely more fun.


The lights are small enough to tuck into my day bag. I bring them along when there is a chance the ride will finish later than planned.

The three of us share the bike-lane stretch home. I snapped this when the streetlights came on. The red lines are my favorite bit of the setup.


I only meant to test the lights outside the house. Ended up riding around the neighborhood for another fifteen minutes.

I still use my regular bike lights. These add the red pattern underneath, which is the part I was curious about. It looks best on the smooth path by the water.

I bring the lights inside with my keys. They go in the same pouch as my gloves, otherwise I'll forget where I put them by morning.


Two lights, straps and charging cables. I laid everything out on the kitchen counter first, then took the bike outside to figure out the positions.

Ten minutes around the neighborhood is usually enough to clear my head. I put the light on the front of the frame and check it before leaving.

At first I had one light pointed too far out. Adjusting it while the bike was stationary helped. Much happier with it after that.

My wife says my bike rides are really coffee runs. Fair enough. I took this outside our usual place while waiting for my cup to cool.


I unpacked the kit at home and had to keep moving the straps away from the cat. Got everything fitted later that evening without needing any tools.

Most of my rides are short trips around the lake. I like the little splash of red when the light starts to fade, especially on the paved stretches.

I squeeze in this climb after work when I can. The lights stay with my riding gear now, so getting out the door is one less thing to organize.


I charged both lights before the first ride and kept the setup simple. They are easy to take inside afterwards, which matters more to me than I expected.
No reviews match these filters.
9 of 42 reviews
